
 Redis和IDEA简单创建及增删改查
原文链接:https://blog.csdn.net/qq_39355828/article/details/112200999 (opens new window)
# 1.新建maven项目:
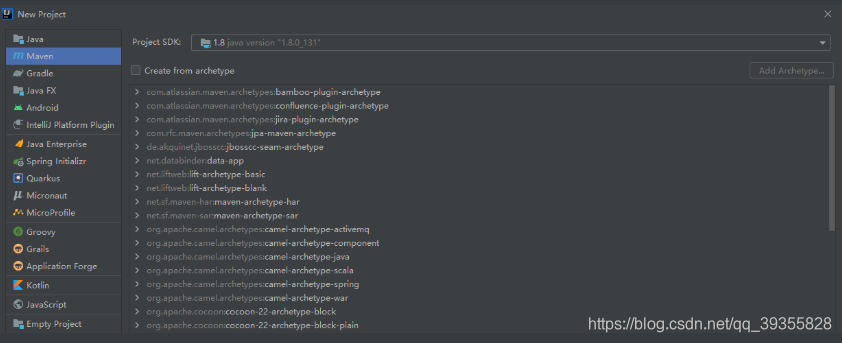
# 选择如下:
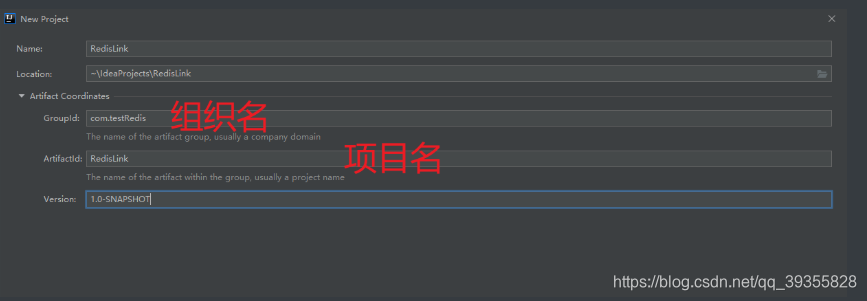
# 2.添加引用
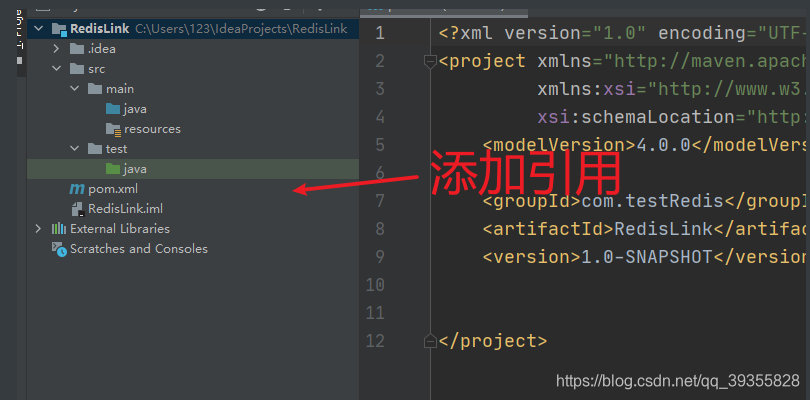
<?xml version="1.0" encoding="UTF-8"?>
<project xmlns="http://maven.apache.org/POM/4.0.0"
         xmlns:xsi="http://www.w3.org/2001/XMLSchema-instance"
         xsi:schemaLocation="http://maven.apache.org/POM/4.0.0 http://maven.apache.org/xsd/maven-4.0.0.xsd">
    <modelVersion>4.0.0</modelVersion>

    <groupId>com.testRedis</groupId>
    <artifactId>RedisLink</artifactId>
    <version>1.0-SNAPSHOT</version>
    <dependencies>
        <!-- https://mvnrepository.com/artifact/redis.clients/jedis -->
        <dependency>
            <groupId>redis.clients</groupId>
            <artifactId>jedis</artifactId>
            <version>3.4.1</version>
        </dependency>
    </dependencies>

</project>
1
2
3
4
5
6
7
8
9
10
11
12
13
14
15
16
17
18
19
2
3
4
5
6
7
8
9
10
11
12
13
14
15
16
17
18
19
# 3.编写测试类
import redis.clients.jedis.Jedis;

public class TestRedis
{
    public static void main(String[] args) {
        Jedis jedis =new Jedis("localhost");//连接本地主机
        String response=jedis.ping();
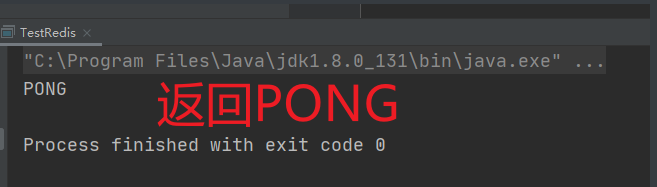
        System.out.println(response);//向Redis server 发送ping。成功则会返回pong

    }
}
1
2
3
4
5
6
7
8
9
10
11
2
3
4
5
6
7
8
9
10
11
# 4.实现增删改查
import redis.clients.jedis.Jedis;

public class TestRedis
{
    public static void main(String[] args) {
        Jedis jedis =new Jedis("localhost");
        String response=jedis.ping();
        System.out.println(response);
        //String类型的增删改查
        //String 插入
        jedis.set("k1","v1");
        System.out.println("k1: "+jedis.get("k1"));
        //String 查询
        System.out.println(jedis.exists("k1"));
        jedis.set("k2","v2");
        System.out.println("存在数据: "+jedis.del("k1"));
    }
}
1
2
3
4
5
6
7
8
9
10
11
12
13
14
15
16
17
18
2
3
4
5
6
7
8
9
10
11
12
13
14
15
16
17
18
编辑 (opens new window)
上次更新: 2026/08/11, 13:36:18